Tension and tracking are the two adjustments that decide whether a band saw cuts straight or wanders, and whether a blade lasts a shift or a month. Too little tension and the blade bows into the cut; too much and it fatigues at the weld. Poor tracking and the blade rides off the wheel and ruins the back edge. This guide gives you the numbers, the procedure, and the error list to calibrate like a setup tech.
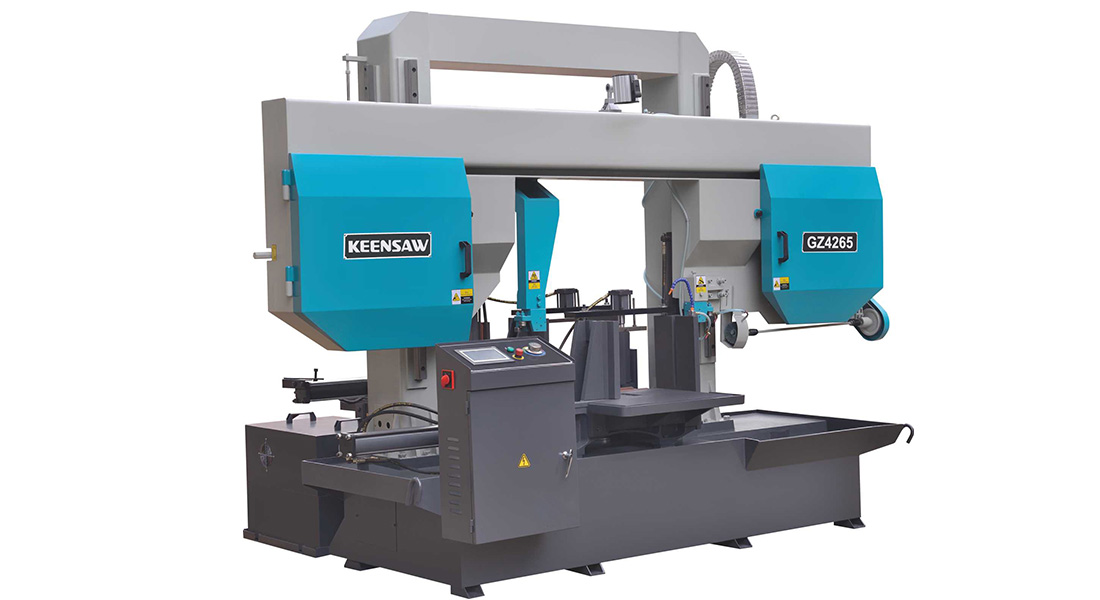
A band saw blade is a thin beam under tension. Tension keeps it straight between the guides so it enters the work square; it also sets how much the blade deflects under cutting load. Under-tensioned, the blade bows toward the cut, the kerf goes wavy, and the tooth tips overload on one side. Over-tensioned, the blade stretches past its fatigue limit and the weld—or the back edge—lets go. The goal is the correct tension for the blade’s width and thickness, held consistently.
Many saws show tension on a scale or gauge; better ones use a deflection meter that measures how far the blade moves under a set force. Trust the gauge over the sticker. For reference, bi-metal blades commonly run around 250–300 N/mm² of tensile stress, scaled by width—wider blades take more total force. If your machine has no gauge, calibrate by the manufacturer’s width-to-tension table and confirm with a clean, square test cut.
| Blade width | Typical tension (approx.) |
|---|---|
| 13–20 mm | Lower end of range |
| 27–34 mm | Mid range |
| 41–54 mm | Upper end of range |
| 67 mm+ | Per machine plate only |

Tracking is centering the blade on the wheel crowns so it neither climbs off the top nor rubs the flange. Wheels are crowned (slightly larger in the middle) on purpose: a centered blade naturally stays put. To track, run the blade slowly and nudge the idler-wheel tilt until the blade sits centered with a small margin on both edges. Never track by forcing the blade to one side—adjust the wheel angle, not the blade.
Guides steady the blade in the last few millimeters before the cut, where deflection would otherwise ruin squareness. Carbide or bearing guides should be just clear of the blade back and sides—touching but not pinching. Set them as close to the work as the guard allows; far guides let the blade whip. Worn guides are a top cause of wandering cuts, so inspect and replace them on schedule.
Check tension and tracking at every blade change, after any abnormal cut, and weekly on busy machines. Heat and a long run relax tension slightly, so a mid-shift glance on a production line is cheap insurance. Log the setting per machine so a new operator reproduces a known-good cut instead of guessing.
| Error | Result | Fix |
|---|---|---|
| Wrong tension for width | Wander or fatigue | Use width table. |
| Tracking by forcing blade | Back-edge wear | Adjust wheel tilt. |
| Guides too far from cut | Blade whip | Move guides close. |
| Guides pinching | Overheat, snap | Set just clear. |
| Skipping re-check after run-in | Drift mid-job | Re-check post settle. |
| Symptom | Tension issue |
|---|---|
| Wavy kerf | Under-tensioned |
| Blade snaps at weld | Over-tensioned / fatigued |
| Teeth load one side | Under-tensioned, bowing |
| Hum or sing | May be over-tensioned |
| Premature gullet cracks | Over-tensioned |
For those who like the math, blade tension is treated as tensile stress: σ = F / A, where F is the tensioning force and A is the blade’s cross-section (width × thickness). Bi-metal blades commonly run around 250–300 N/mm². Too far below and the blade bows; too far above and you approach the fatigue limit of the weld and back edge. Width matters because a wider blade needs more total force to reach the same stress—never guess by feel, use the machine’s width table or a gauge.
Blades track on crowned wheels wrapped with a urethane or rubber tire. A worn, glazed, or cracked tire changes the crown profile and the blade will not sit center—no amount of tracking adjustment fixes a bad tire. Inspect tires for scoring and hardness, clean them of packed swarf, and replace when the crown is gone. The drive and idler bearings also matter: a rough-running wheel introduces vibration that reads as wander in the cut.
Break-in is not optional on hard material. A fresh blade has microscopic sharp tips that, hit at full feed, can fracture before they seat. Run the first few cuts at roughly half feed, let the tips wear to a stable edge, then bring feed up. You will see blade life rise and the first-cut finish improve. Log the break-in feed per material so operators do not skip it under production pressure.
A one-line log per machine—date, blade width, tension setting, guide clearance, operator—turns calibration from folklore into a repeatable process. When a cut drifts, the log tells you what changed. When a new operator starts, the log gives them a known-good starting point. It costs nothing and prevents the most common cutoff problem: every operator tensioning differently.
| Symptom | Likely cause | Fix |
|---|---|---|
| Blade climbs off top | Idler tilted too far | Nudge idler toward center |
| Blade rubs flange | Idler tilted other way | Opposite nudge |
| Back edge wears | Poor tracking / bad tire | Re-track; check tire |
| Blade wanders in cut | Tension or guides | Set tension, close guides |
| Hum under load | Possible over-tension | Lower to table value |
The pattern is consistent: tracking faults come from wheel tilt and tire condition; cut faults come from tension and guides. Diagnose by where the blade misbehaves—on the wheel, or in the work—and the fix follows.
| Interval | Task |
|---|---|
| Per blade change | Set tension to width; re-track; close guides; break in. |
| Daily | Visual blade check; clear chips at guides. |
| Weekly | Verify tension gauge; inspect tires and bearings. |
| Monthly | Log calibration; replace worn guides. |
A scheduled calibration beats reactive fixing. When a cut drifts, you know the last setting and what changed, so recovery is minutes, not a lost shift.
Run this checklist at every blade change and weekly on busy lines, and wandering cuts and snapped welds largely disappear.
Blade wandering or breaking on your saw? Ask KEENSAW for the correct tension table and guide setup for your blade widths and materials—we’ll help you dial in a straight, long-lasting cut.
Contact us if you have any questions we will reply as soon aspossible